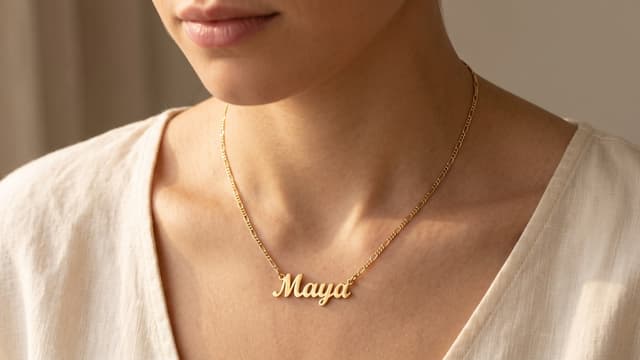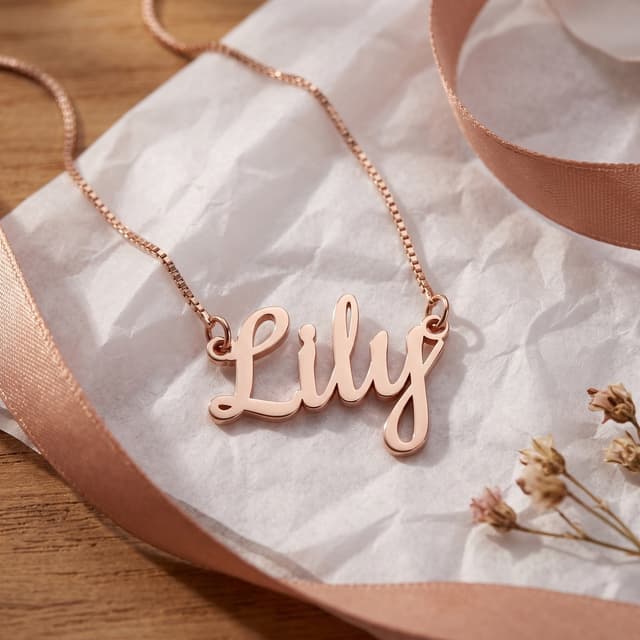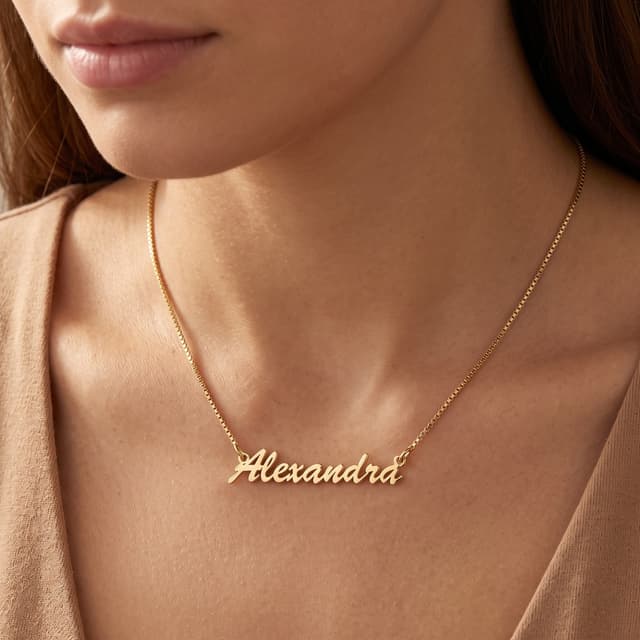
Jewelry used to be the hardest thing to start selling under your own name. You needed moulds, minimum orders, a room full of stock, a photographer and someone to design the box: thousands of dollars gone before a single sale. That is no longer the price of entry. Made to order, the piece does not exist until your customer buys it, and nothing about the brand has to be paid for up front.
This guide walks the whole road from an idea to your first order in the box: who you sell to, which pieces to start with, how to put your name on the package, how to price without guessing, how to open the store, and exactly what happens on the day someone buys.
Quick answer
- Pick who you sell to before you pick what you sell. A gift moment or a community beats “jewelry for everyone”.
- Start with three pieces, not thirty. Personalized ones (a name, a date, coordinates) carry the gift.
- Put your logo on the pouch and the Thank-you card in Branding. Your customer never sees us.
- Price with a rule (a margin on top of your cost, applied to every version) and check it in the price table.
- Connect the store: Shopify pushes listings straight from My Products; Etsy runs assisted, with the Listing Kit and manual orders.
- Nothing is charged until you sell. You pay us after your customer has paid you.
Why made-to-order jewelry is the right way to start from home
The usual first step in a jewelry business is a purchase order. You guess which pieces will sell, buy them in the minimum quantity, wait for them to arrive and then find out. Made to order removes the guess: every piece is made after it is bought, which means no stock, no minimums and nothing left over in the wrong size.
It also changes what “home” means. Your home is the office: the store, the branding, the customer messages. The workshop is ours: a jeweler’s bench that has been making personalized pieces for thirteen years, engraving each one when the order comes in and shipping it from the US under your name.
Three things make this model work for a one-person brand:
- No money before revenue. Joining is free, there is no minimum order, and you pay for a piece after your customer has paid you.
- Real jewelry, not novelty. Solid 925 sterling silver, or gold, rose-gold or silver plating over brass, deep-engraved, never printed.
- The box is yours. The pouch and the Thank-you card carry your logo, the piece ships under your brand, and nothing in the parcel names anyone else.
How to start a jewelry brand from home: step by step
Seven steps, in the order they have to happen. Most people finish the first four in an afternoon; the store connection is the one that usually takes a second sitting.
- Decide who you're for
“Jewelry” is not a brand; “memorial pieces for people who lost a parent” is. So is “first Mother’s Day gifts”, “faith and heritage pieces”, “coordinates of where you met”, or the community you are already part of online. Personalized jewelry sells into gift moments, so the fastest way to a niche is to name the moment and the person giving the gift.
The test: can you finish the sentence “I make jewelry for ___ who want ___” without the word “everyone”? If the answer is yes, every later decision (pieces, photos, price) gets easier.
- Pick your first three pieces
Open the Catalog with your sentence in mind and use the save mark to shortlist. Choose three pieces that a buyer in your niche would give (a name necklace, a bar with a date, a disc with initials) and adopt them into My Products. Three pieces done well outsell thirty pieces listed in a hurry, and you can add the next three next week.
Prefer pieces with a personalization field. The engraving is what turns a product into a gift, and it is the reason a buyer chooses your listing over a chain store’s.
- Put your name on the box
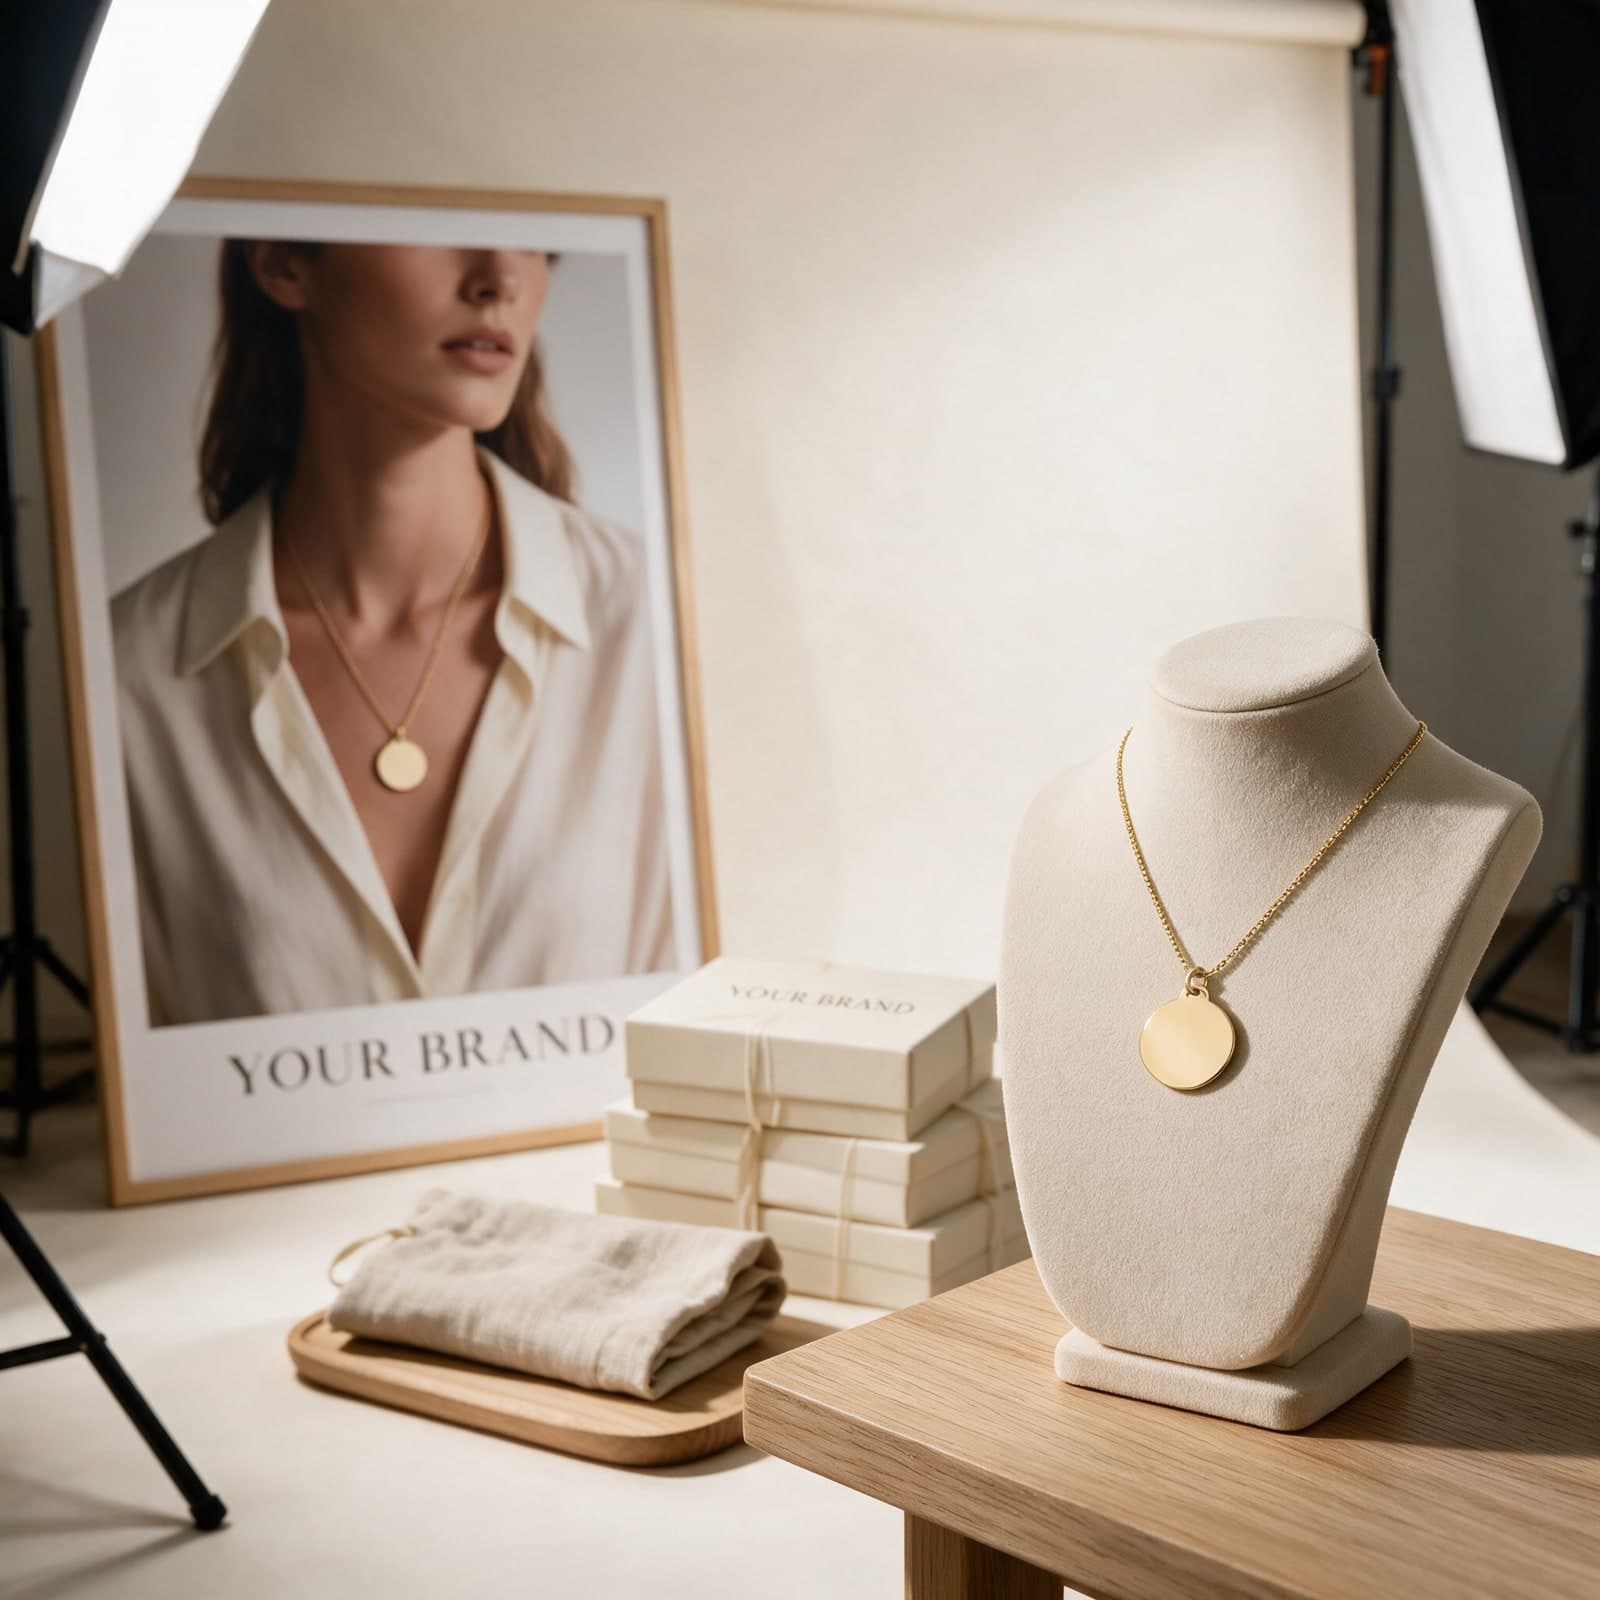
In Branding, upload your logo once. It goes on the pouch and on the Thank-you card that ships inside every order, and the same page sets the fonts and the preview your customer sees when they type their engraving. No printer, no packaging supplier, no minimum run: the box is branded from the first order.
- Price with a rule, not a feeling
Each piece in My Products has a price rule: a percentage or a fixed amount on top of your cost, applied to every version of the piece. The table under it shows what you pay, what you sell at and the margin, per version, and any row can be typed over by hand. The full cost stack, with a real necklace priced end to end on Etsy and on Shopify, is in the margin guide.
- Open the store and connect it
Name your store under Stores and connect the channel it lives on. Shopify is a full connection: My Products pushes the listing (photos, versions, personalization fields, your price), and sales flow back here on their own. Etsy runs assisted: the Listing Kit gives you everything to paste into the listing, and orders are entered by hand. On Etsy, declare us as your production partner before the first listing goes live. The fifteen-minute setup keeps the shop compliant.
- Make the listing look like yours
Nothing says “reseller” like the supplier’s white-background photo on ten different shops. The Studio generates imagery for your niche from the real product photograph (your model, your setting, your light), and the photography guide explains which ten shots a jewelry listing needs and in what order. Then set up the personalization fields so the right name arrives the first time.
- Your first sale, start to finish
A sale in your Shopify store appears on your home the moment it lands, one click from a prefilled order. Confirm it (or save a card once and it confirms itself), and the workshop makes the piece in 3–6 business days and ships it from the US to your customer under your name: 2–5 days in transit within the US, 6–10 to Canada and the UK. You pay us at that point; you already have the retail price in your account.
Five mistakes that stall a new jewelry brand
The brands that stall in month one almost always did one of these. None of them is about talent.
- Launch with three pieces you can describe in one sentence each.
- Set the price rule first and read the margin column before you publish.
- Use imagery that shows your niche: the Studio or your own shoot.
- Declare the production partner on Etsy on day one.
- State the delivery date on the listing, in the cart and in the confirmation.
- List thirty pieces in a weekend and hope one of them finds a buyer.
- Price by looking at a competitor and taking a dollar off.
- Publish the supplier’s white-background photo as your only image.
- Skip the partner declaration and find out during a shop review.
- Apologize for the production time instead of selling it.
Tips to grow once the first orders land
- Work the gift calendar. Grow your shop lists the US gift moments and says by when a listing has to be live to catch each one.
- Read four numbers a week. Visits, conversion, search terms, and the seasonal curve. The 30-minute shop check is the routine.
- Run Etsy for discovery and Shopify for margin. Made to order removes the oversell risk that keeps most sellers on one channel.
- Ask for the review after the unboxing, not after the shipping notice. The box is where your brand happens.
- Add the next three pieces only when the first three have taught you something: a bestseller, a question buyers keep asking, a moment you missed.
FAQ
How much does it cost to start?
Do I need to buy inventory?
How long does my customer wait?
What is the jewelry actually made of?
What if a piece arrives faulty?
Which stores can I sell from?
Conclusion
A jewelry brand from home is three decisions and one afternoon: who you are for, which three pieces say it, and what the box looks like when it opens. The making, the engraving, the packaging and the shipping are already built, and Jeweliful only sends a bill after your customer has paid you. The rest of the brand is yours.
Start with one piece
Open the catalog, save the pieces your niche would give, and adopt the first one into My Products. The store can wait until the piece is yours.
Browse the catalog